Winter Lodge, created by SVGCuts, is a wonderful paper project that’s perfect for holiday decoration. If you have not visited SVGCuts, hop over there after reading my post and take a look at all their products. If you are new to paper crafting and feeling intimidated by these type projects, don’t! For every project you will find a wonderful step-by-step assembly video.
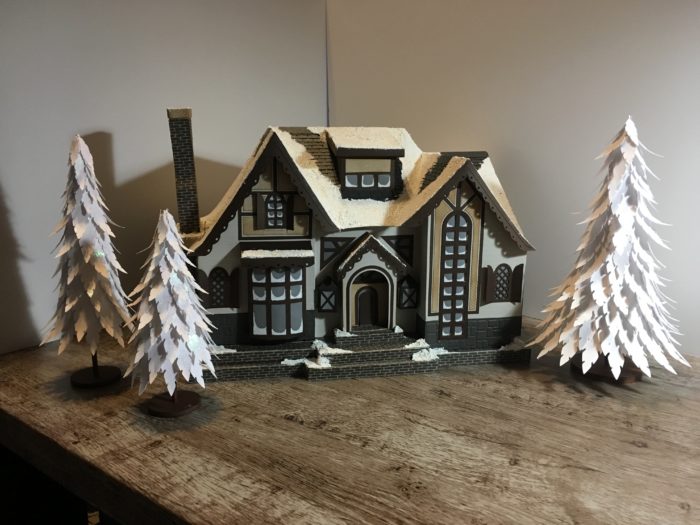
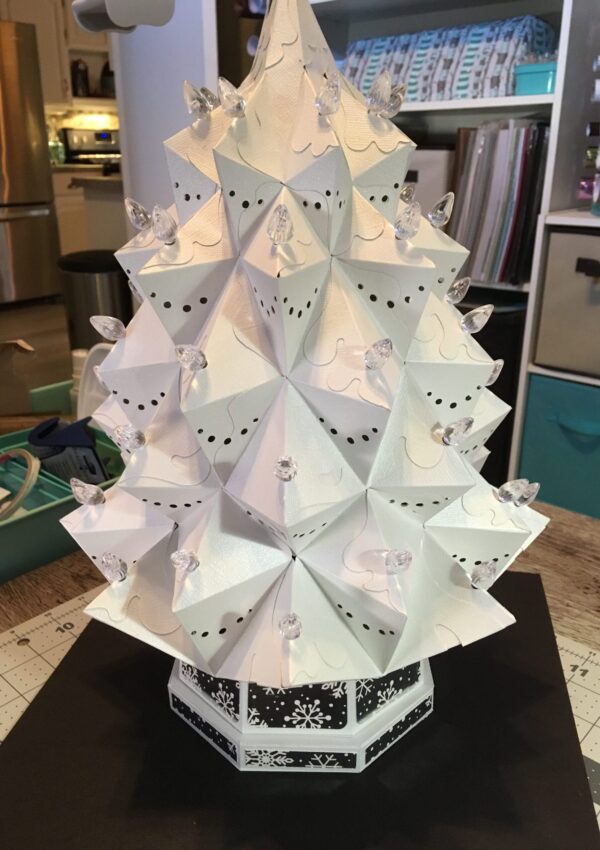
NOTE: The trees shown in the photo above are from Cricut Design Space. Check the category “Cricut Fun” for more about how those are made.
Some of you may remember several years ago when I was working mainly with the Silhouette Cameo machine and was not a huge fan of Cricut. Well let me tell you … when I saw the videos about the new Cricut Maker, I was deffinately interested. I’m not one to suggest one machine over the other as I believe each has it’s own strength and weakness and the one you choose should be based upon what you are using it for. For me, the idea of a machine actually cutting the thicker chipboard (the real stuff – grin – not the thin cardstock like stuff they try to call chipboard) plus wood and the various tool options the new Cricut Maker offered, was enough to make me order one. Let me say …. I was NOT dissapointed! It’s been a little over a month since the maker arrived and I’ve had a blast getting to know Cricut again. Ive cut numerous materials with ease and great results. It’s for that reason that I added the “Crafting with Machines” category to my blog and seperated my posts based upon machine used or designer. In the future I plan to create my own projects using these machines, that will be offered in my Etsy shop.
Back to the Winter Lodge project . . . . this was such a fun project to make. It’s not difficult as you might think from the looks and took me about four days to complete, working pretty steady on it. As with all projects, you need to first watch the assembly video then take some time to get familar with the parts and think about what materials you want to create with. I knew from the start that I wanted to add texture for snow on the roof in place of the white paper and that I wanted the entire lodge to be a bit more sturdy than what it would be made just from paper. For this reason I picked some sturdy textured cardstock and decided to create the base from Cricut Kraft Board.
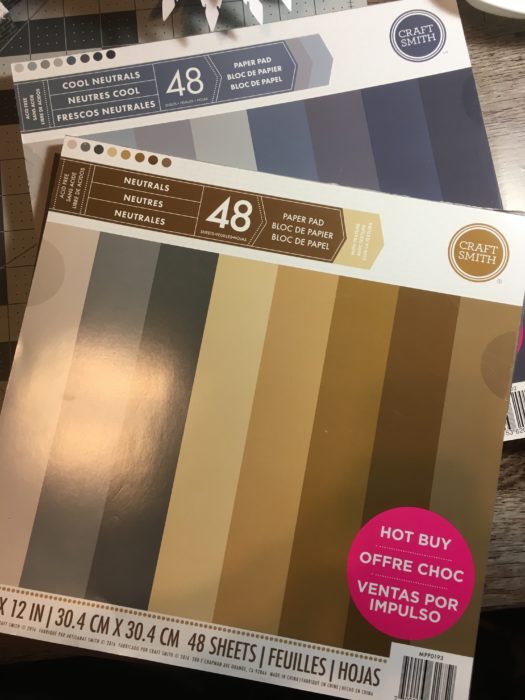
Here’s a look at the paper packs I used which I found at Michaels on sale for only $5 a pack! This paper is fantastic to work with and has a nice texture to it like Linen. It’s so nice that I went back that week and bought several more packs in various solids and prints. I mean really …. how can you pass up a $19 paper pad for only $5!!!
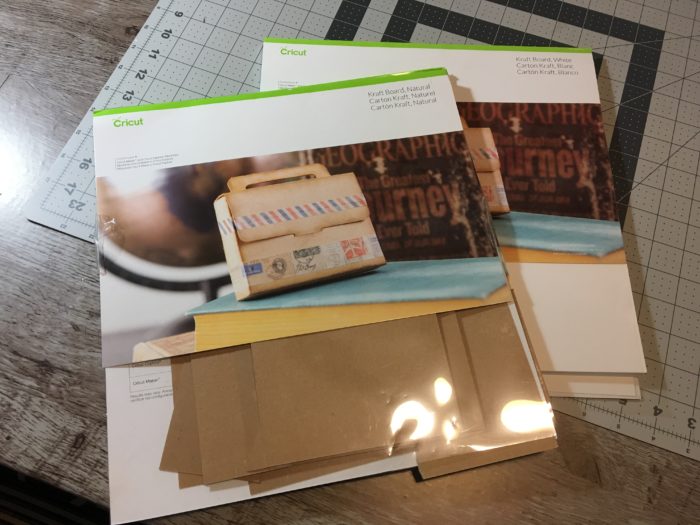
Now, if you are not familar with the Cricut Kraft Board …. check it out next time you are in Michaels. It’s a bit like working with chipboard but is thinner. I can see that it’s going to become a staple in my supplies. It’s available in 20 sheet packs of White, Black or Natural at $9.99 pk, and a variety pack in all three colors with 10 sheets of each color for $14.99
If you have not worked with SVG files – from any source – one of the first things you might notice is that when you upload them to Cricut Design Space, they may not show on the mat. What you need to do is to change both of the Position settings to 0 and then you’ll be able to see them. I’m not sure if all SVG’s do this but for me so far it’s been that way.
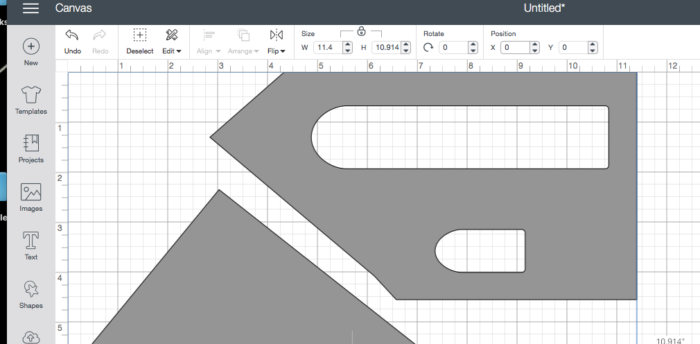
Next, if you are going to make any changes to the project you might find that you need to alter the SVG file parts a bit. Another thing to be aware of is Score lines. If there are score lines in the parts you will need to ATTACH these to the parts or design space will try and put them on seperate mats for cutting. Click on the image to select it. Next, click on “Attach” in the bottom right corner of the screen. Now design space will see the image as one mat, not two.
I suggest that you go and do this will all parts of the file before you start the project but if you forget, you’ll be reminded once you see the file come up on two mats!
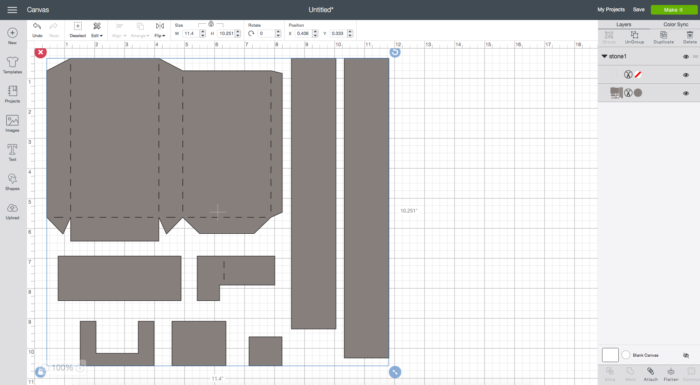
Most of the SVG files I’ve worked with have used various colors on project parts, letting you know these parts should be cut from the same color of paper. If you want to make changes to materials or paper colors, I suggest that you go in and change the colors on the file parts as well. Be aware that in some cases, you will need to ungroup the parts before you can change the colors!
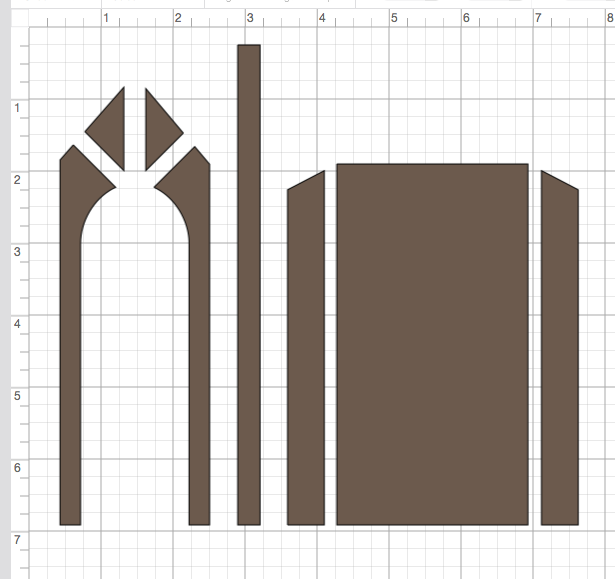
For example ….. the file below is for the trim insert on the large window, a side section of the wall, and on the right side, the front and sides of the chimney base. I want the chimney trim to be a different material/color than the other trim so I need to first seperate it – because the file was created with everything as a whole – and also will need to recolor that part of the file.
If that is clear as mud (grin) here’s a quick video that might help.
So now that you have had a little bit of an education on working with SVG files, let’s move on to the building process of the project.
The first thing I did was to figure out what parts in the SVG file were for the walls and base of the Lodge, as well as the front entry/archway. I cut all of these parts out of the Cricut Kraft Board.
I should also note here that the score lines in most SVG files will wind up being cut lines of short or long dashes. In most cases, I would not want this and would prefer an actual score line using the cricut score tool. However …. because Im making a base for the Lodge out of the Kraft Board, the cut score lines will make it easy to bend.
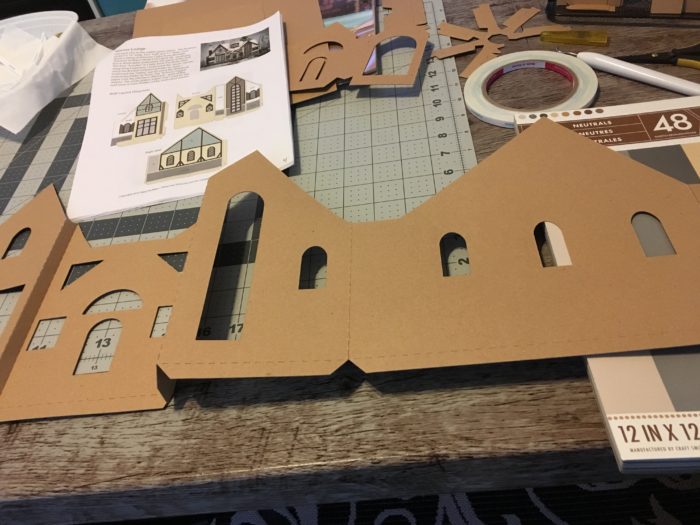
Once I had the kraft board sections cut and assembled, I cut the same images out of the cardstock I was using. Notice how I had the score lines drawn on these pieces. The one thing they have not improved yet on the Cricut is the score lines. I suspect, or at least hope, that in the future there will be a different tool that will do a better job with scoring than they have now.
So now I’m using my scoring board to actually score each piece on the drawn score lines. NOTE: be sure that you place your paper/cardstock with the right side down on the mat so the lines are drawn on the back. You will also need to “mirror” the file image because the right side of paper is facing down!
Another thing I wanted to do was to have the cardstock (outside walls of the Lodge) to look like siding. In the image below you can see where I’ve begun to score lines across the entire piece to create the look of siding. I’ve scored every 1/4″ as this would be appropriate for a half scale miniature house/building.
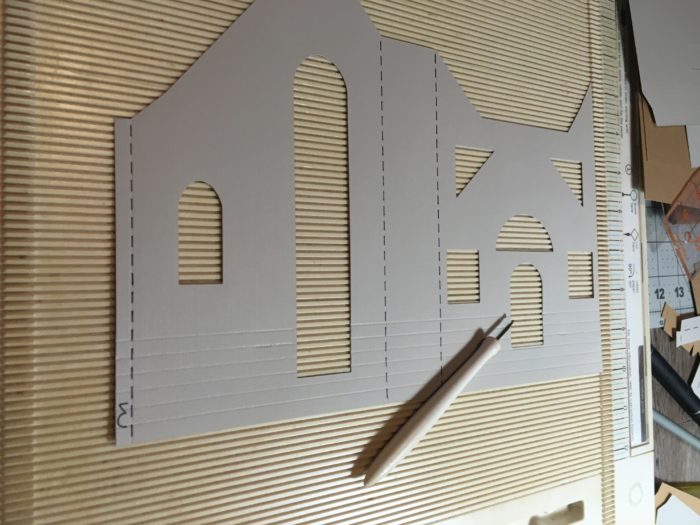
Once all of my scoring has been done, I can attach the cardstock to the outside walls on the kraft board.
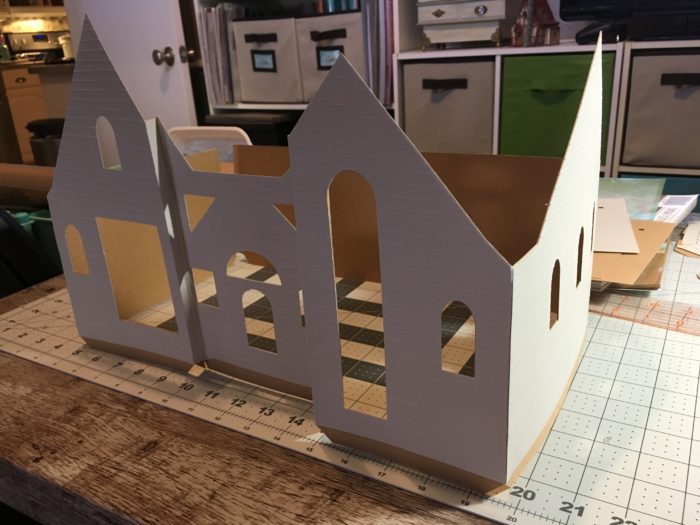
TIP: When you are working with larger pieces of cardstock like these, and you have textured the outside like I have, glue is not always the best option for construction. It’s fine for connecting each section but for applying the cardstock a dry adhesive is best. I’ve used something called Score Tape. It’s basically a double sided tape. You can find a link to the type I use in my “supplies” list on the blog. Add tape around all sides and right along edges of any openings like doors or windows.
Next I built the base or foundation, attached the house, then the vellum and began adding outside trim. The light brown cardstock areas inside the dark brown trim is a patterned cardstock with a light rubbing of Vintage Photo Distressing Ink on top.
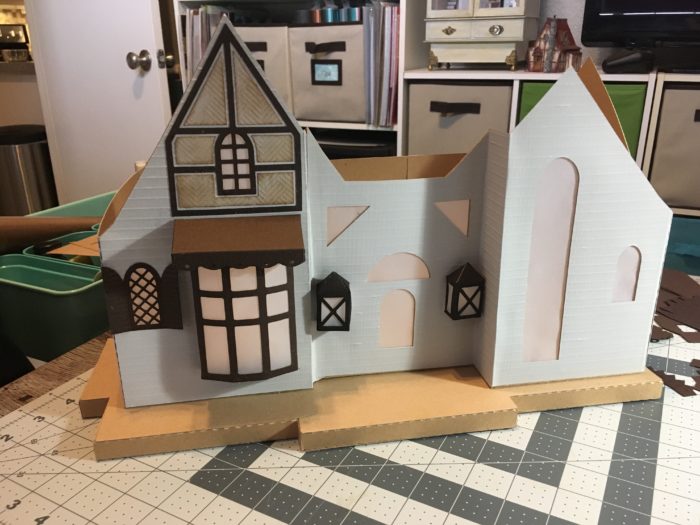
Once all trim had been added where the windows and door was, I added the inner walls and flooring.

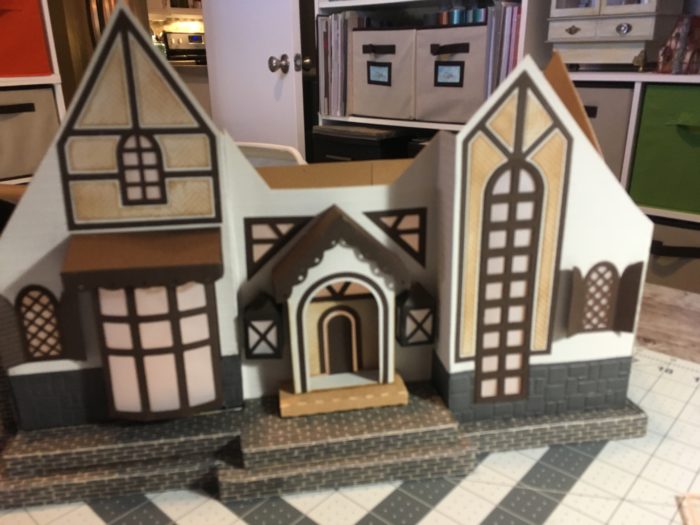
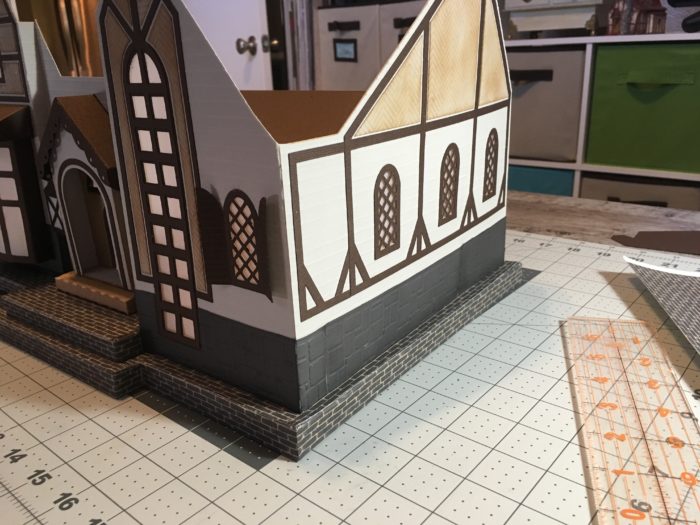
To create the stone on the bottom of the outside walls I’ve used a textured grey cardstock that I embossed with a stone pattern. The embossing folder is from Darice called Brick Wall. You can find these at Amazon or other craft stores.
For the brick looking base/foundation I’ve used a patterned cardstock from Authentique, Collection: Accomplished “Avenue”. TIP: I had only one 12×12 sheet of this, not enough to complete the foundation so using my printer, I scanned the paper then printed it onto a textured white cardstock. Now I had more than enough and I still have the pattern for use on other projects!
I’ve also used this paper on the chimney as you can see below.
Another change I made was to the left side wall (shown below) to the left of the chimney. I thought it appeared to naked for a side wall so I cut an extra window, like the ones on the front, along with two shutter pieces and created a shuttered window. Using pieces of the right side wall trim and the slice and weld features in design space, I created trim for around the window.
You can also see that I carried the bottom wall brick trim up on each side of the chimney that is about an inch wide.
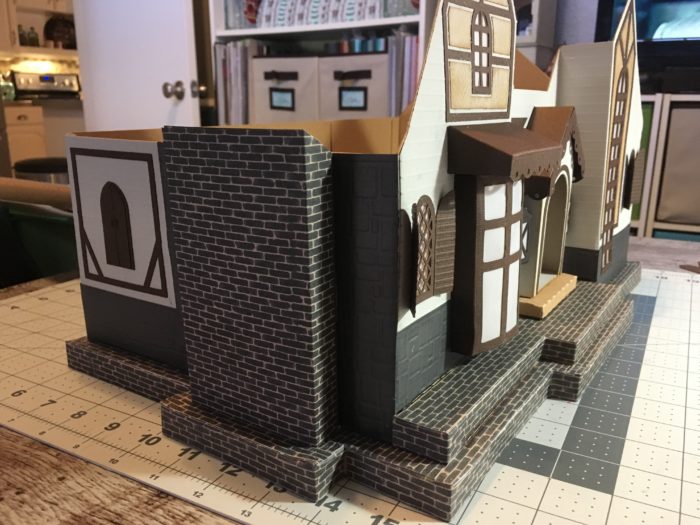
On the right side wall, the original design had a sheet of patterned paper on the left end. Instead, I’ve continued the trim.
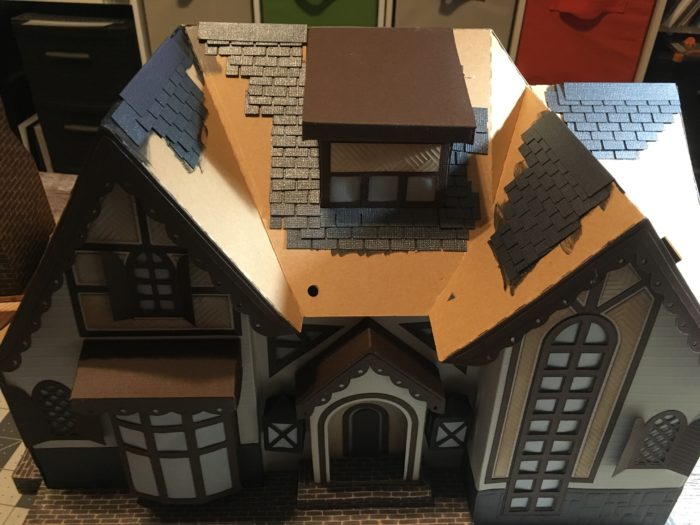
Once all the trim was completed, I moved on to the roof. With plans of adding a snow texture to the roof I decided that showing small areas of shingles would look nice. So I created a file of shingles in design space and applied them to the roof in some areas. Before adding the shingles I painted the roof areas black so that the brown would not show thru the shingles in any area. Shingles were applied with a strip of score tape along the top of the shingle strips. You can find a link for the shingles cut file on the Covered Chipboard Facebook Group (link in footer).
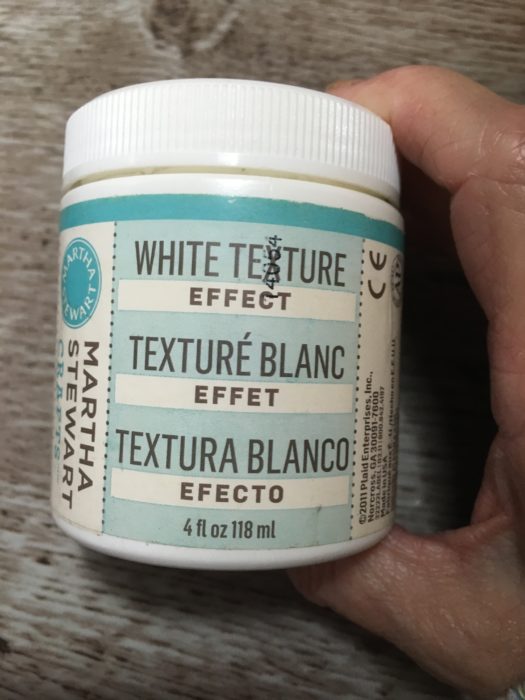
For creating the snow I’ve used Martha Stewarts White Texture Effect. I’m not sure if this stuff is still around but any paintable white texture will work.
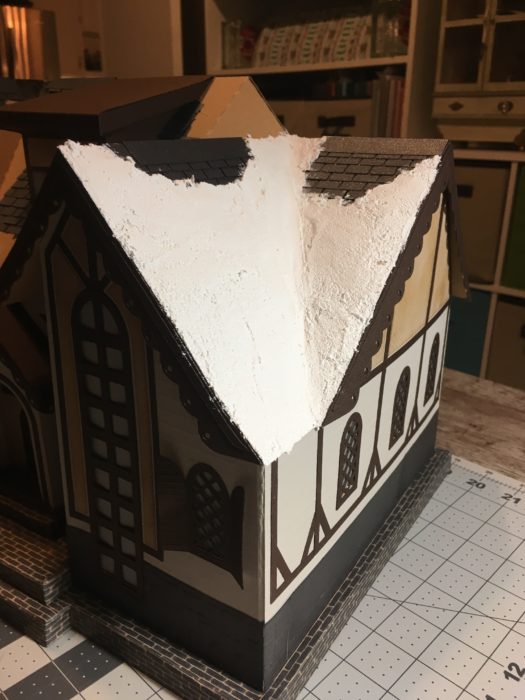
Apply the texture with a thin plastic knife in a thin layer much like you would when you ice a cake. Let it dry overnight and fill in any cracks that might appear the next day. If you like, you can then paint clear glitter glue on top of the snow for some sparkle.
For lighting the Lodge I’ve used a small string of LED mini warm white lights. A hole was cut in the backside of the house so the plug would fit through. The lights are just laying on the floor inside the structure.
Final thoughts . . .
As I mentioned earlier, this project is pretty close to a half scale miniature size structure. If you wanted, you could leave the backside off the building and finish the inside just like a miniature house. If you choose to do this, I would use clear plastic on the windows so you could see inside from the front. I would also light the structure with the miniature light system from modeltrainsoftware.com
If you will be placing the house someplace where the back can be seen, you might consider adding more windows and trim to the upper part of the wall. You can make these “shuttered” walls so that there is no need to cut openings for them.
So I hope you enjoyed this rather long post, sorry about that, on the Winter Lodge build. I hope that you will give this one a try or that maybe you were inspired along the way with ideas for your next project!
Till next time …. Happy Crafting!



Leave a Reply
You must be logged in to post a comment.