With the fridge full of leftovers our Thanksgiving feast has come to an end. Now it’s time to begin making decorations for the Christmas holiday – my favorite time of the year! I’ve got quite a few projects posted and in the works so be sure to stop by often.
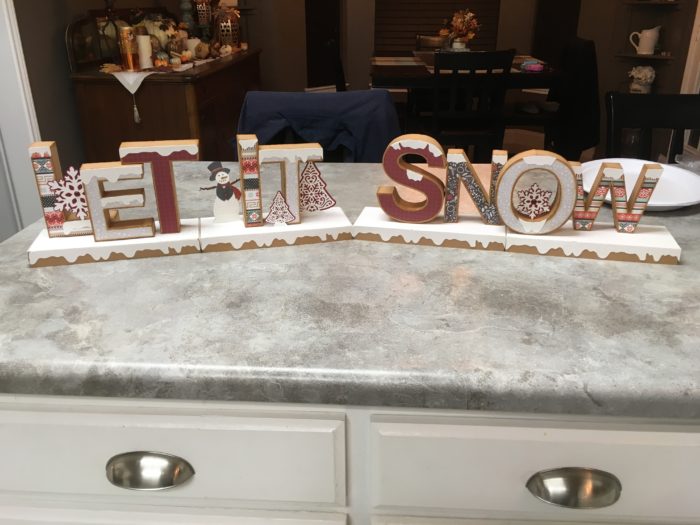
This weekend I’ve made a 3D Letter sign for the top of our entertainment center. The entire project is about 39″ in length and 7″ in height. Once placed for display there will be a back drop with snowflakes behind it and a string of fairy lights around the base. If you have shyed away from making these 3D letters in the past, now is the time to give them a try. The entire alpha set is only 8.99 at SVGCuts.com. They were not near as complicated as I once thought them to be.
Materials … (All cut with the new Cricut Maker machine)
- Cricut Kraft Board – Natural
- Cricut Glitter Cardstock – White
- Cricut Cardstock – Red & Black
- Various holiday patterned papers – paper pad from Michaels
- Toothpick and two gems
- (Optional) Vintage Photo distressing ink
Files used . . .
- Snowflake, Snowman & Tree (Cricut Design Space)
- Letters – SVG files from SVGCuts.com
- Base – created in Cricut Design Space (make 4)
If you visit SVG Cuts you will find a tutorial on how these letters are built. She does not show each letter but watching it will give you a good idea of how they work.
NOTE: I did alter the letters making them various sizes from 4-1/2″ tall up to 5-1/2″ tall. If you do this …. be sure to have both the letter files and the letter face file all on the same canvas!!! Select all and adjust the size at one time. This will ensure that the face is correctly sized to match the letter.
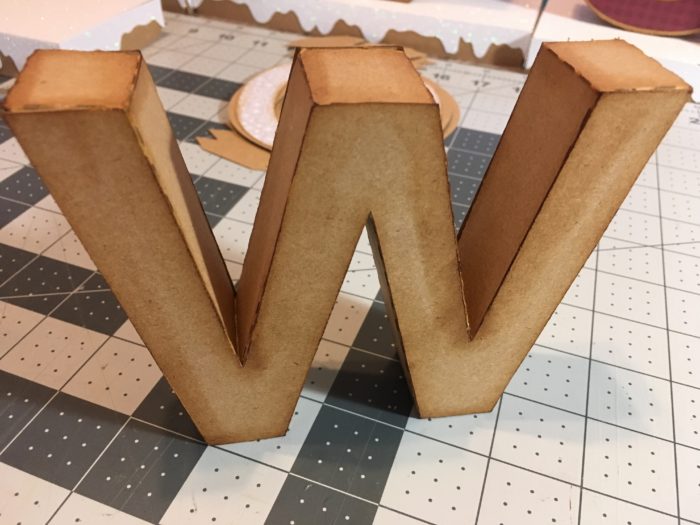
Here’s the W put together and you can see how I’ve inked the edges with the distressing inks. I used the Cricut Kraft Board to make all letters.
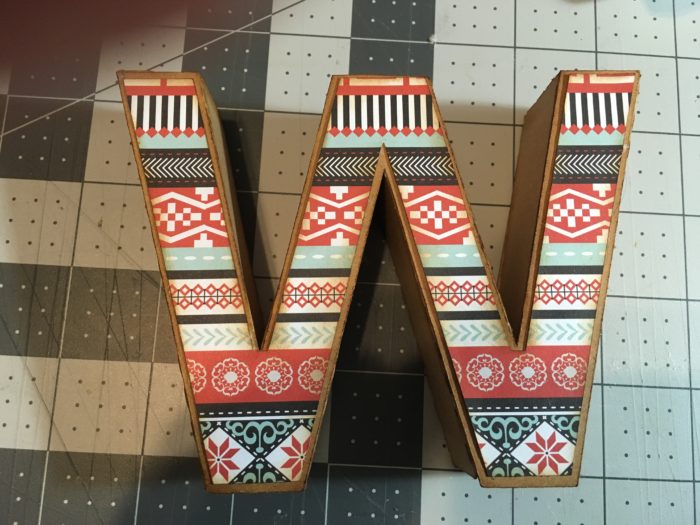
Patterned paper, also with edges inked, has been glued to the front of each letter.
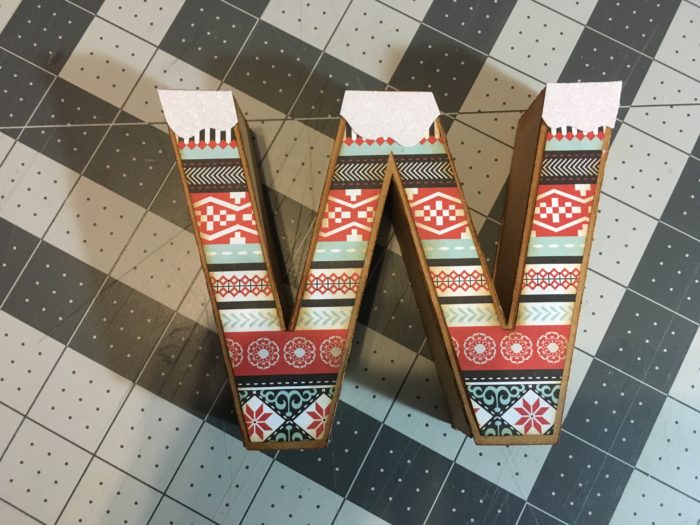
I cut extra snow pieces from the Base and used them to accent each letter with snow as seen below, using the Cricut white glitter cardstock.
Each completed word was then attached to it’s own display base. SNOW takes two bases glued together.
Accents were created and added to each word as seen below. The Snowman and trees all had extra snow sections glued to the bottom, in front and back, creating a stand of sorts. These were then glued in place.
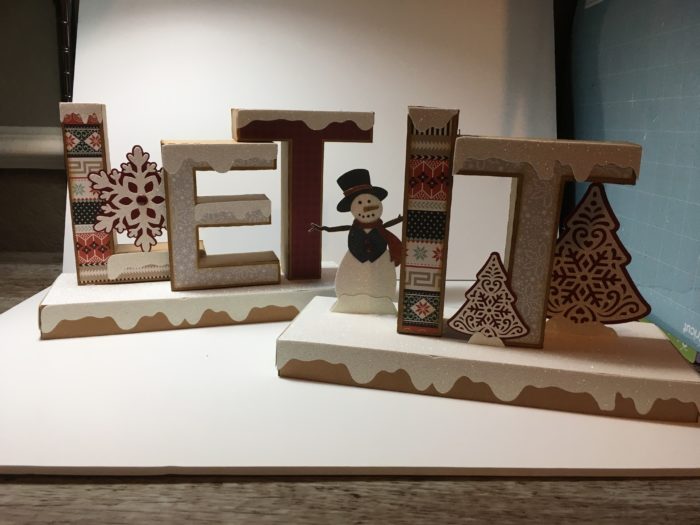
Letters were staggered, some in front of others, on the bases.
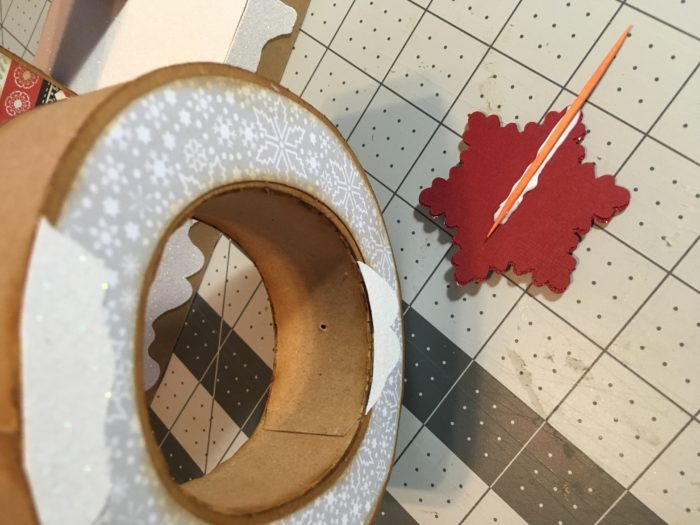
To add the snowfake in the center of the O . . . poke a hole in the bottom inside area of the O then glue a toothpick to the back of the snowflake. When dry, push the toothpick into the hole and glue in place.
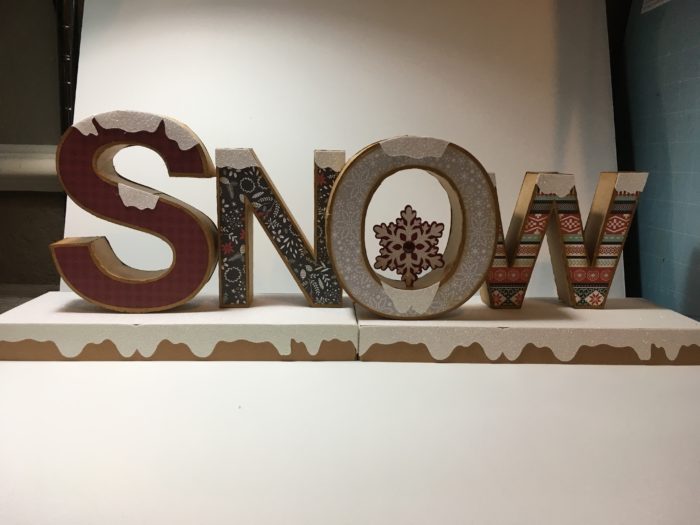
Here’s a look at the finished project . . . .

Happy Holidays!



Leave a Reply
You must be logged in to post a comment.