by Teri Hanson for The Covered Chipboard
As promised I will be adding some finishing how-to’s for each of my Tiny Village projects. Bookmark this post as it will update for each additional building. I will also be adding some free downloadable SVG files for various items.
Creating Dirt or Flower Beds . . .
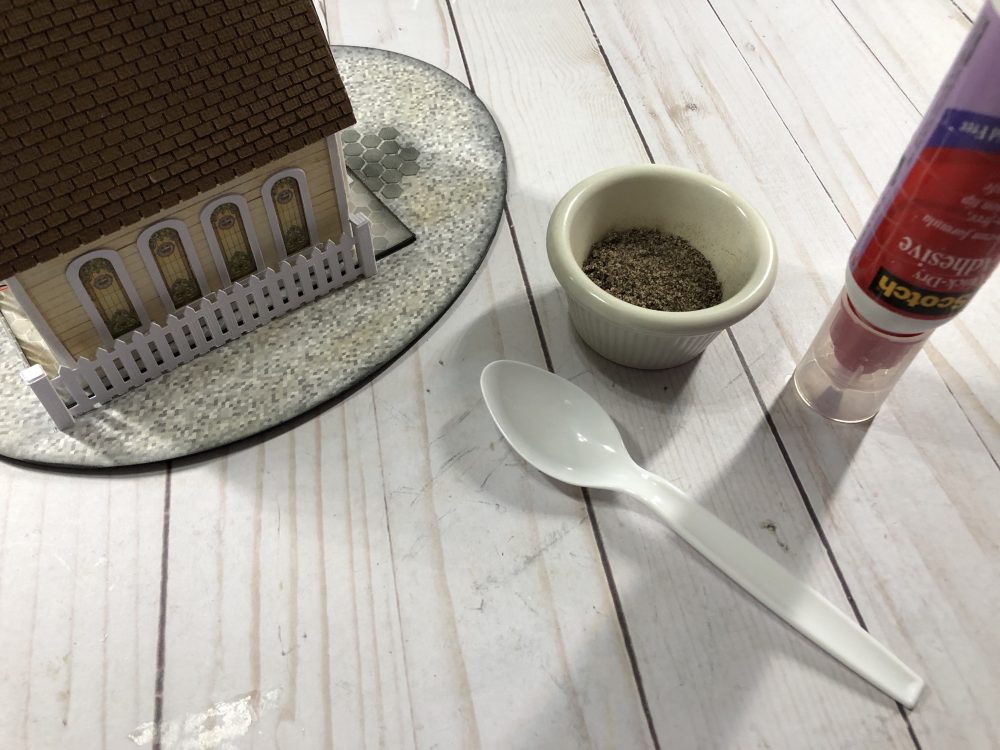
Materials . . .
- Quick dry glue
- Old tea grounds or coffee grounds
- Heat gun
- Plastic spoon
- Clear matte spray sealer
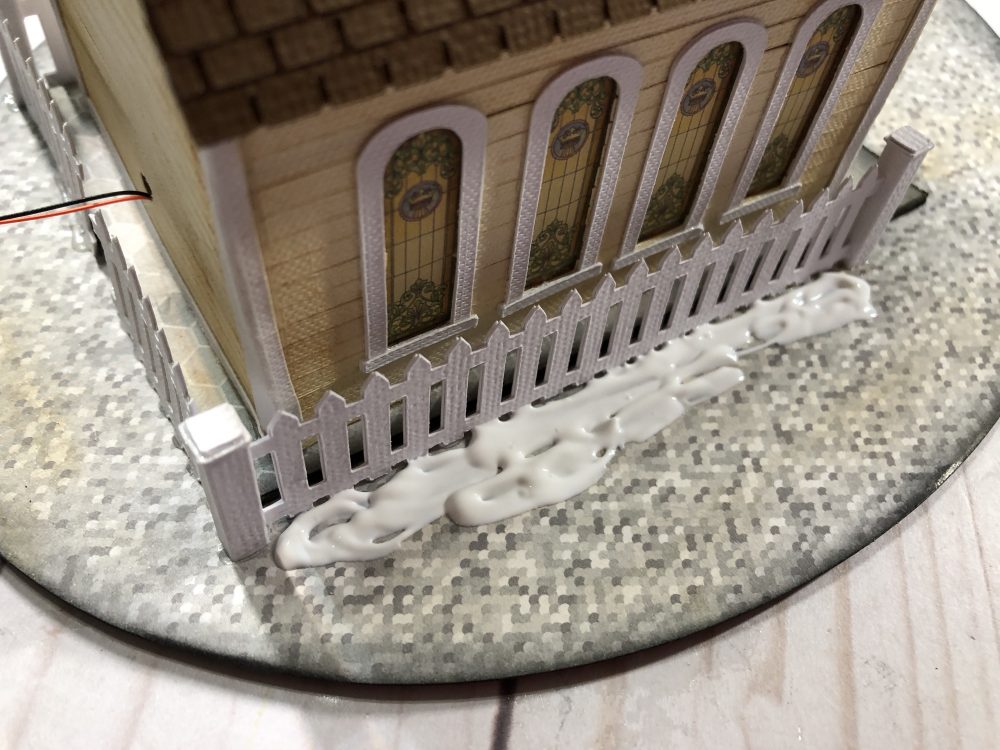
Add a thicker layer of glue in the shape of where you would like dirt to be.
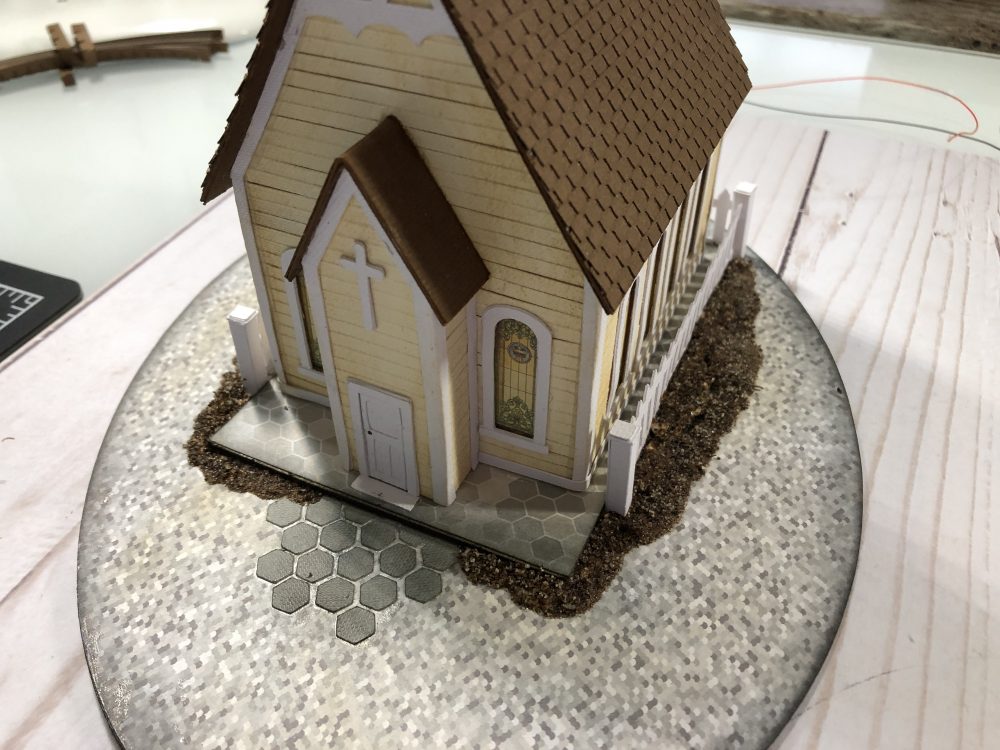
Spoon a thick layer of the tea or coffee grounds to cover all of the glue. Wait a few seconds then turn the building up on its side and shake off the excess grounds. Wait a few more minutes till you see the grounds are darkened in color. Use a heat gun to help dry the grounds and blow off any loose excess. Repeat this process to build up the grounds so they are not flat on the entire area. Leave to dry well then seal with a single coat of the clear matte spray sealer.
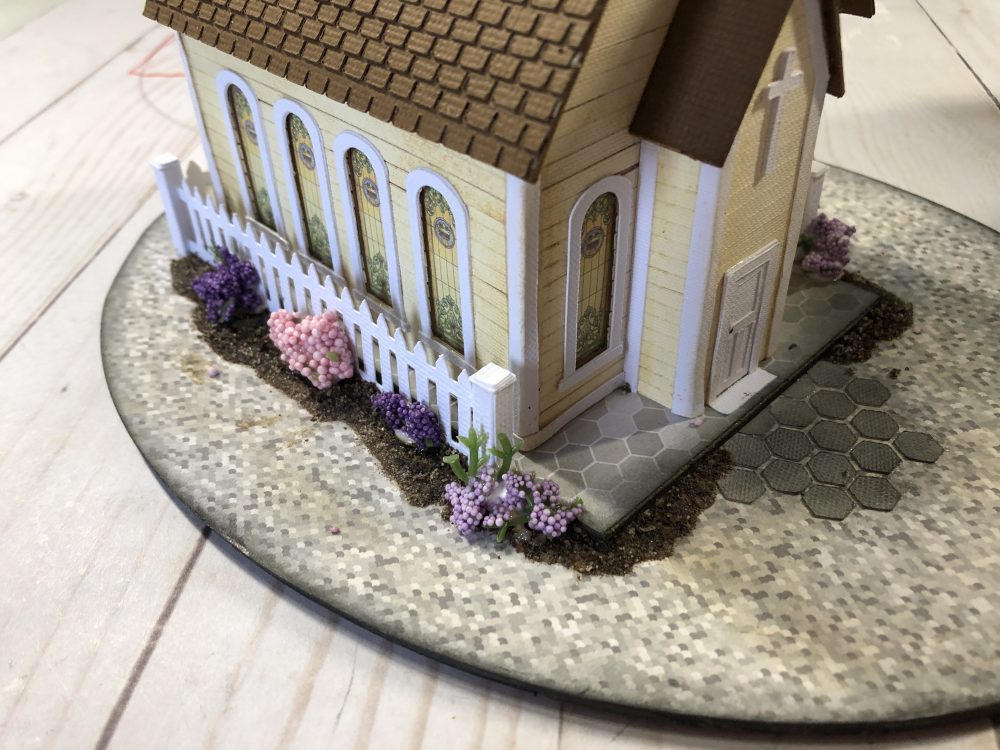
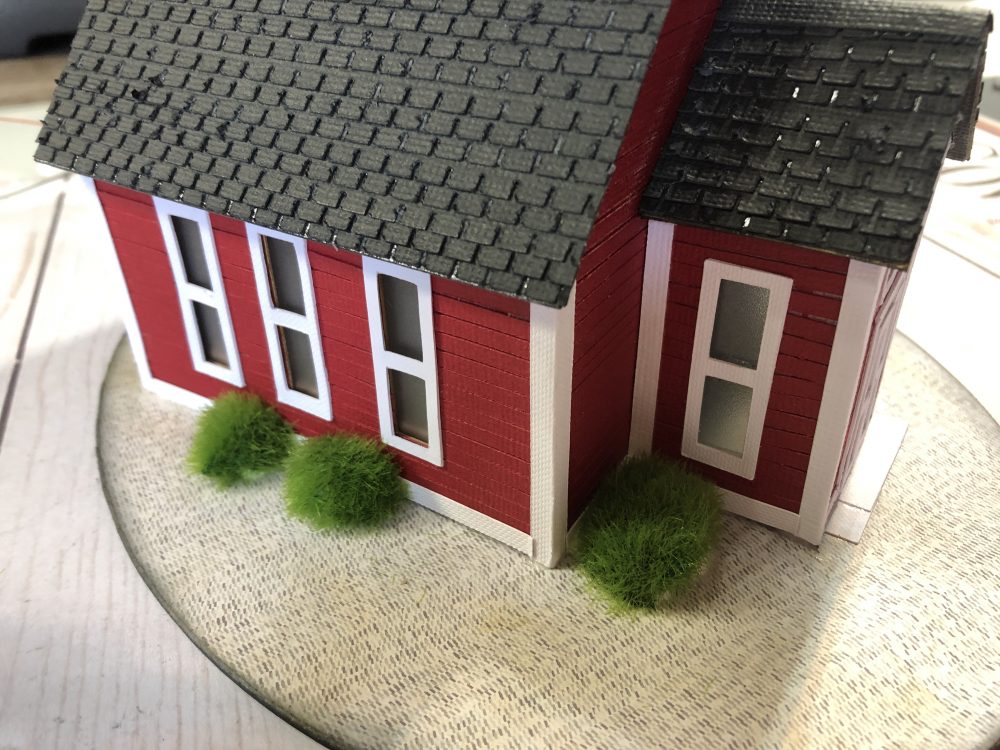
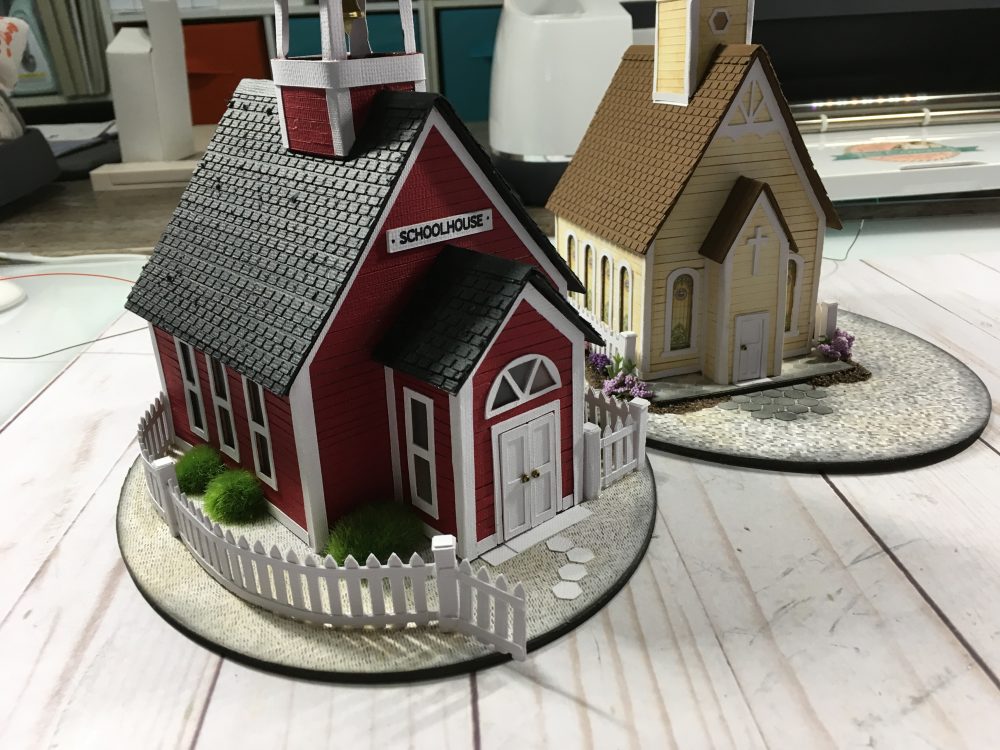
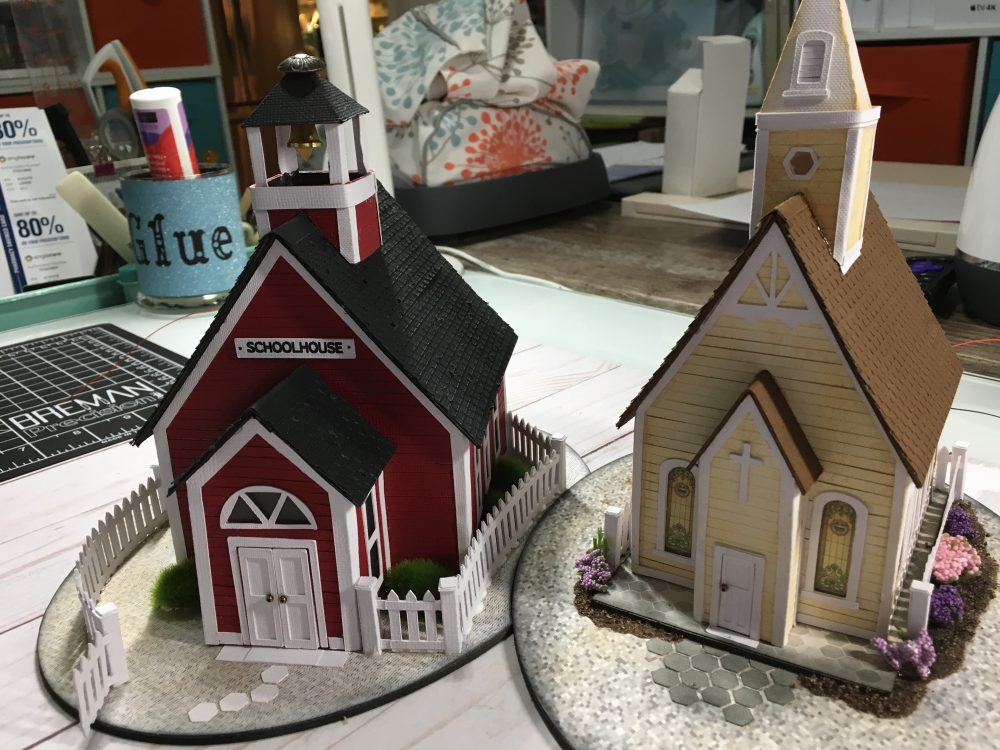
Here you can see how I’ve used tiny faux flowers to accent the Church and small ready-made bushes cut down to size for the School.
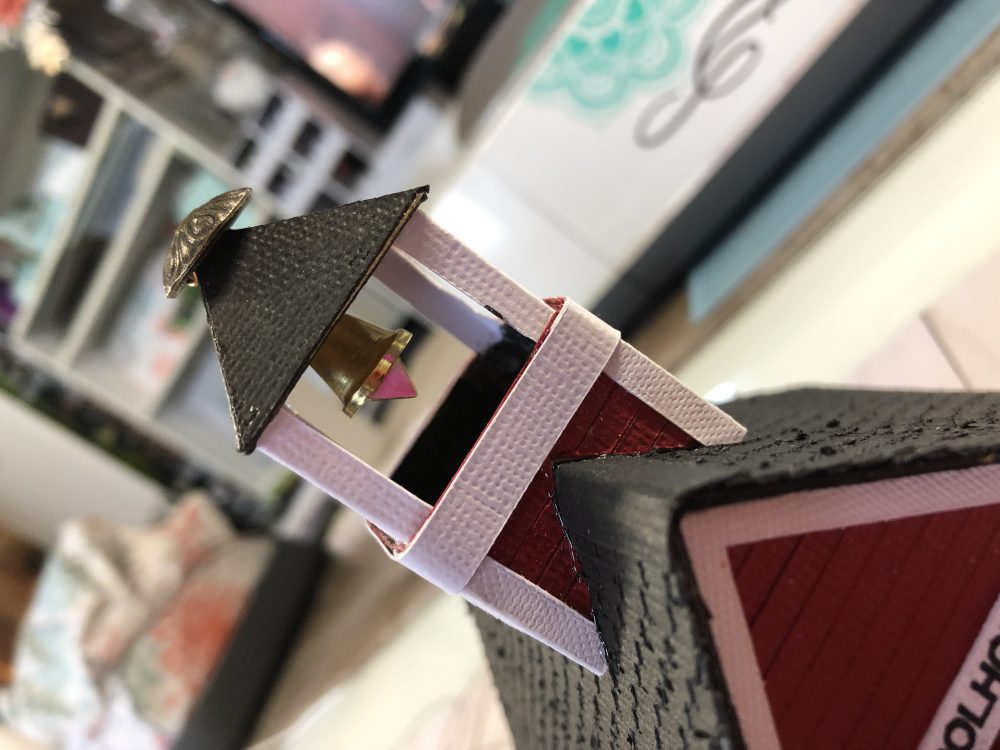
Below you can see that I’ve added a metal bell and an ornate brad on top to hide the metal hook that holds the bell.
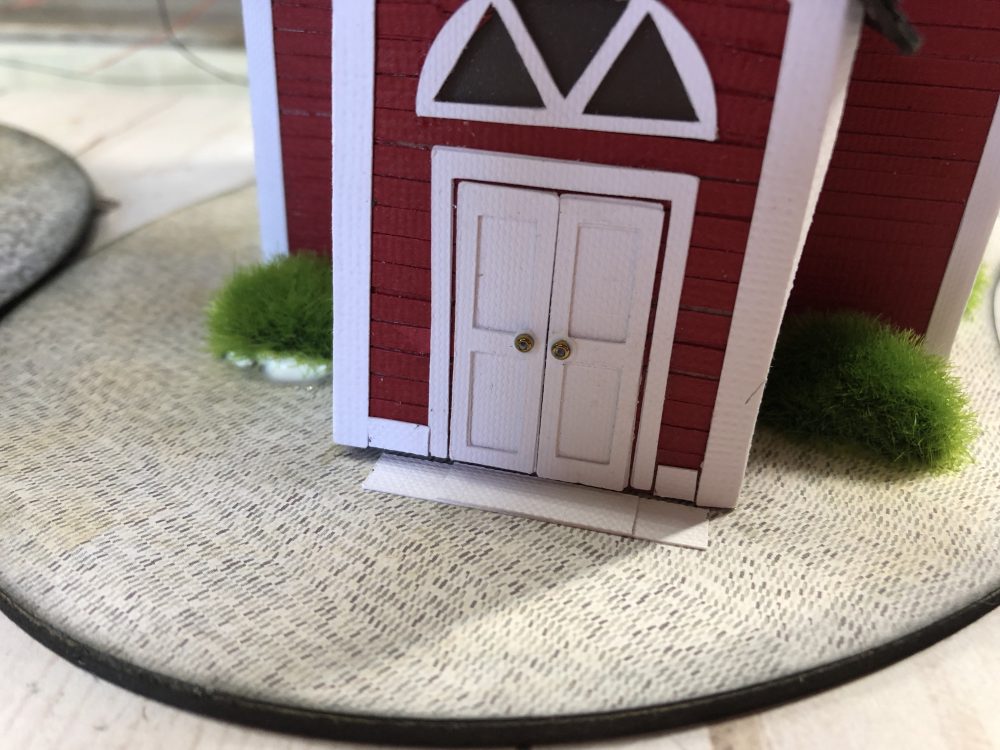
Tiny metal beads create door knobs on both buildings.
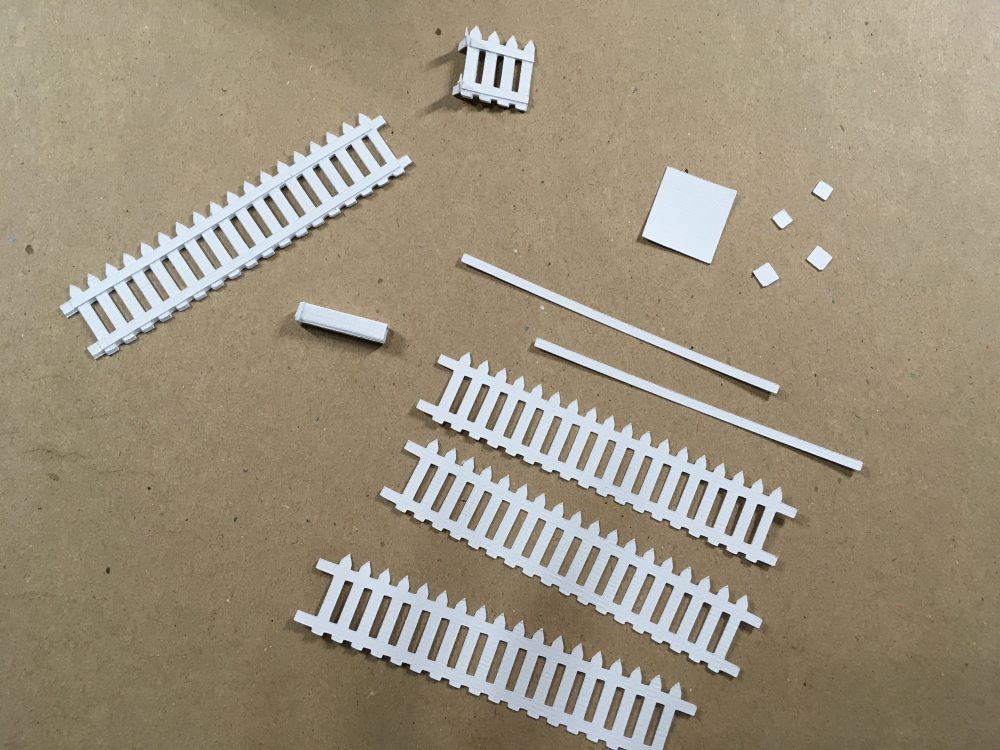
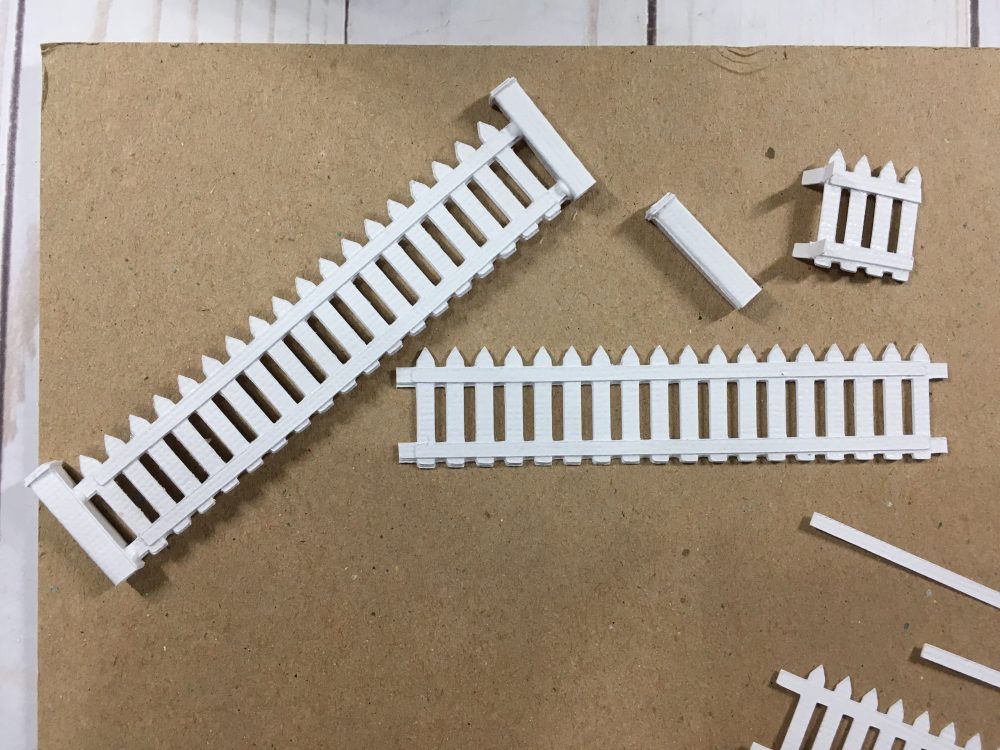
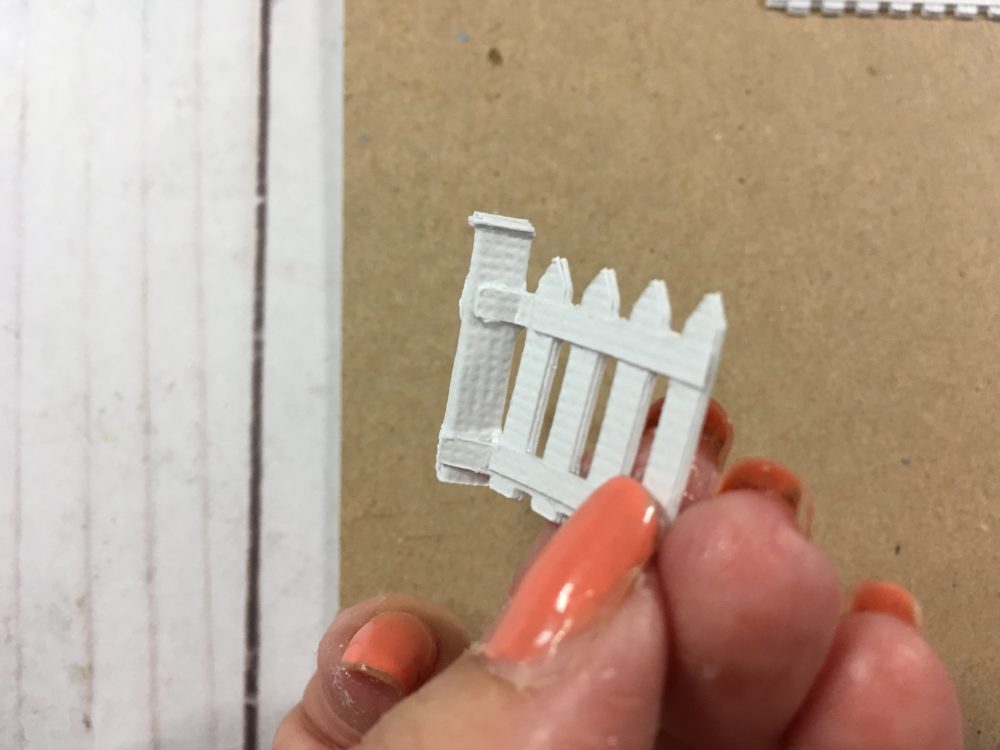
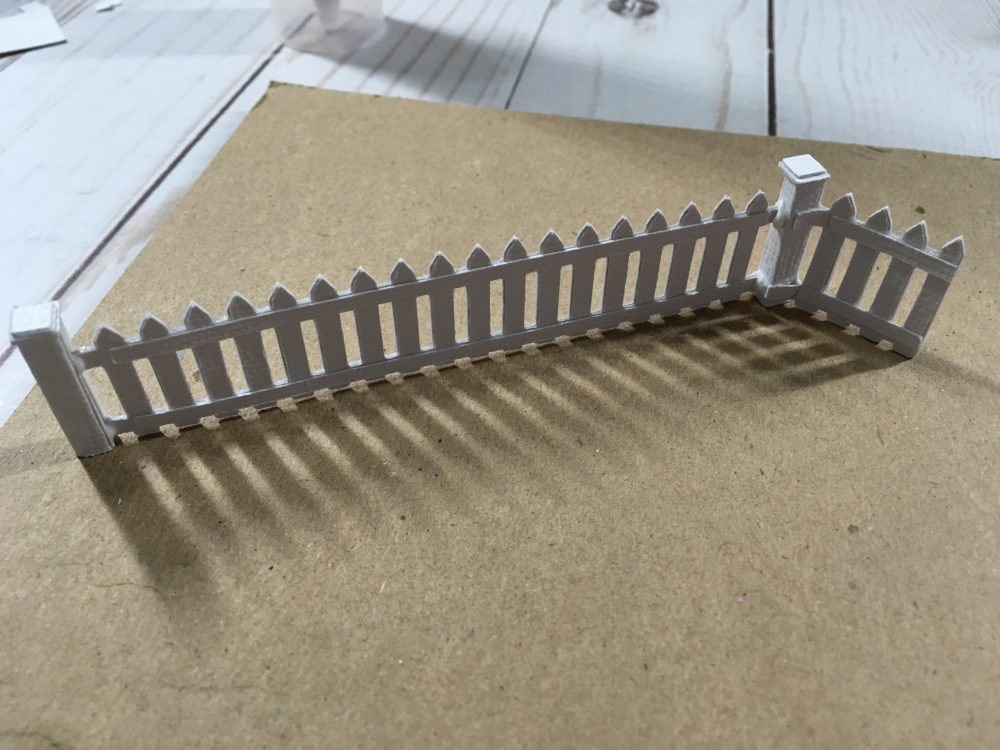
Making a Fence and Gate . . .
I’ve updated the file for the fence and included the stones and bricks. You can use the link below to download the SVG file.
Finishing items will be added to the product files this week.
Stay tuned for more coming soon . . .
Happy Crafting,
Teri


Leave a Reply
You must be logged in to post a comment.